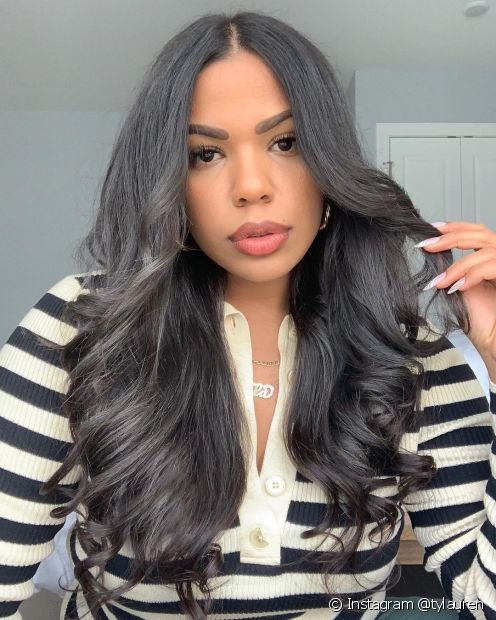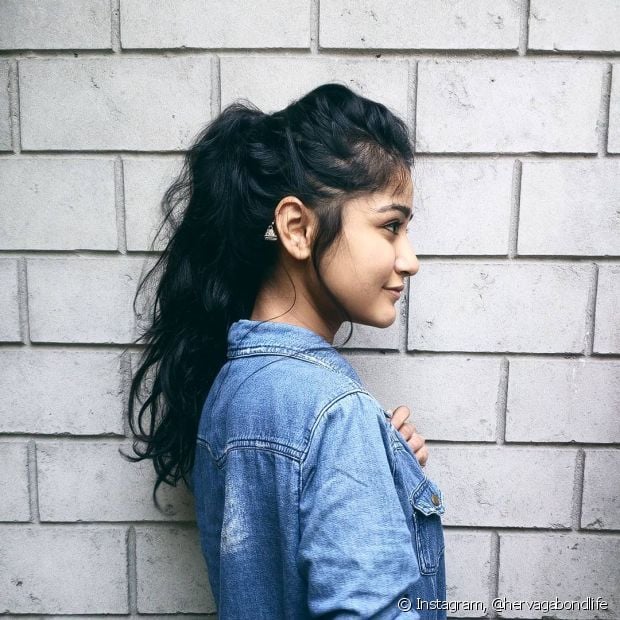
The cap is a way to straighten the hair by tying the hair around the head.
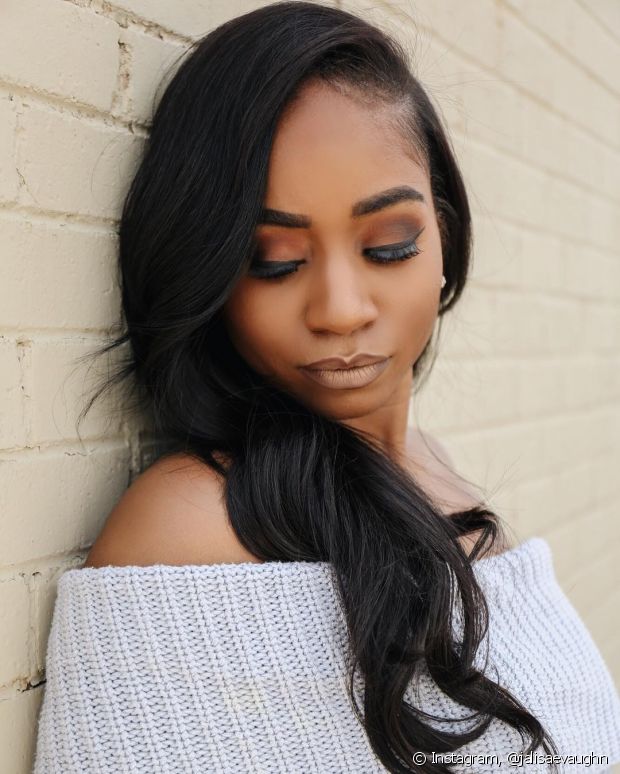
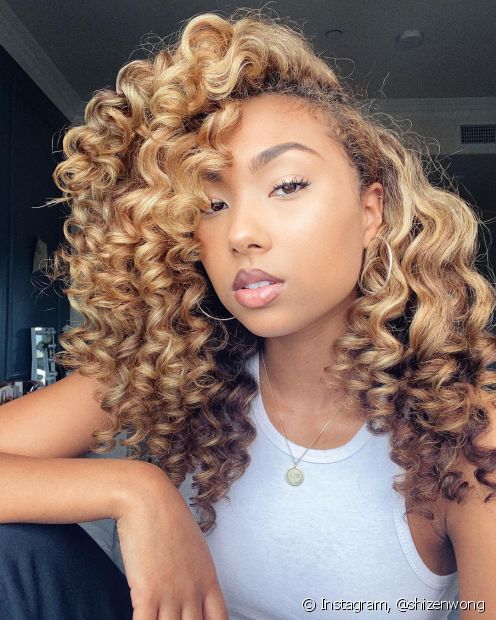
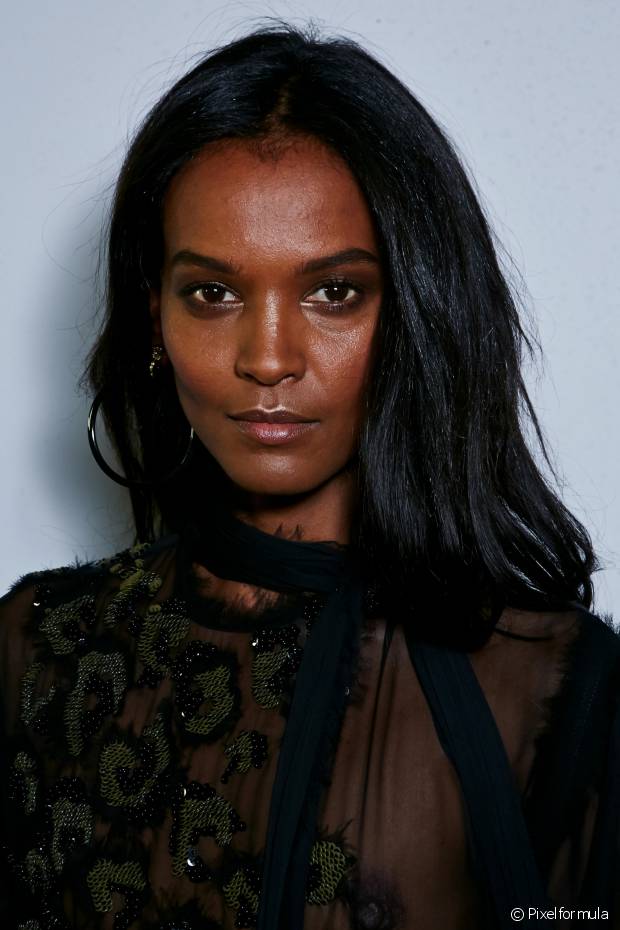
The cap straightens the strands without using heat and leaves the result supernatural.
Make your own hat with stockings
Divide the hair in two and start curling it towards the ear, around the head.

Secure the hair with the clips, so they don't move out of place, put on the stocking cap and leave it for a while to straighten it.

Repeat the cap process with the hair to the other side.


Niely Gold Tip Silicone Soft Silicone Repair Tip Complete
There are some grandma tricks we still use today, but that's because we know they really work! Who hasn't squeezed their cheeks to give that discreet blush or used lipstick as a blusher? The hair straightening cap is a very old fashioned way to have straight hair, but just like the others, it works great. Come learn with our step-by-step process that leaves you with straight locks, without having to use heat.
How do you straighten your hair with the cap?
For those who have never seen it before, the cap is for you to wrap your hair around your head for a smoother shape. For those who have difficulty handling the blow dryer, it's perfect.
What's more, you don't use any kind of heat tool to achieve the result, and we already know that, besides not damaging the hair, it makes it look much healthier, right? The cap still leaves your strands with supernatural movement and finish. The only problem is that it takes a little while to do, since it doesn't speed up in the heat.
Make your hat with a sock
This form of smoothing is called a cap because you really need some sort of protection on your head. You can, yes, buy one specifically for this, but you can also make your own! You know those pantyhose you don't wear anymore? She's perfect for this. Tie a very tight knot in the legs, attached to the part that is left at the waist. Cut off the leftover parts and that's it, just use this to put around your hair.
Learn how to make a hair cap
You can make the cap in two ways. The one we are going to teach today is the one that takes a little less time. Another way is the process only on one side and leaving it on overnight. If you have that kind of time, it's worth the gamble.
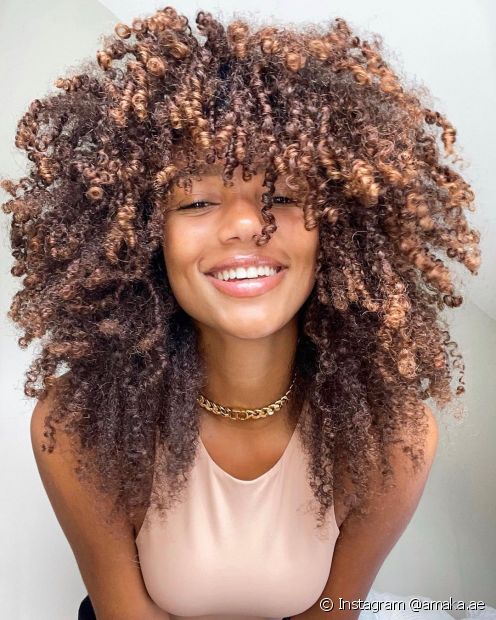
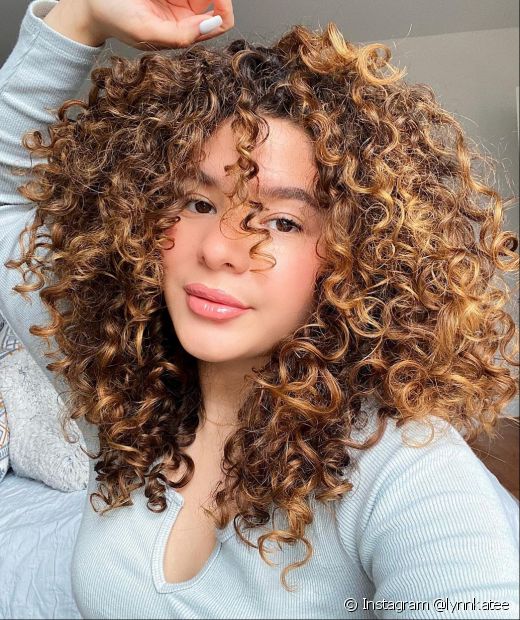
Step 1: Start with dry hair. If you have very curly hair, blow dry and brush it first, without wanting to leave it perfect, and don't forget the heat protectant.
2nd step: divide your locks in half.
3rd step: choose one of the halves and start pulling it forward towards your ear to wrap it around your head.
4th step: do this with all the hair, twisting it to the same side, and keep pinning it with bobby pins so the strands don't come loose.
Friendly tip: be careful with the direction of the clamp. Don't forget to leave the crumpled part down, so the risk of scratching is lower.
5th step: put on the stocking cap and let the "magic" happen for a while, 30 minutes to an hour, depending on the shape of your strands.
6th step: Repeat the process for the other side. done!