How to make tape on long curly hair? Learn 6 tricks!
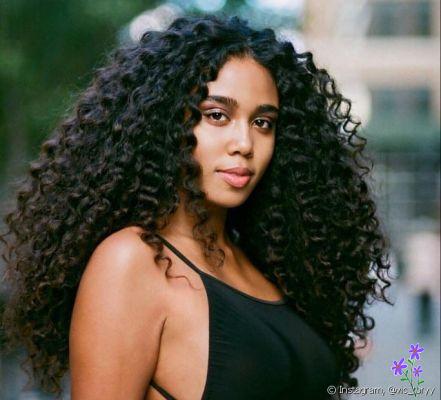
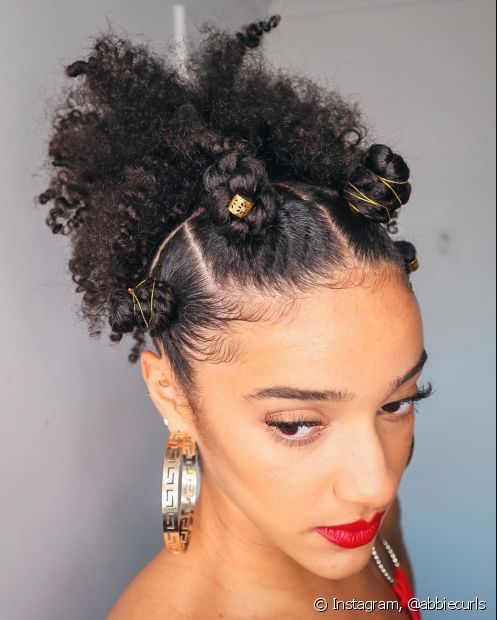
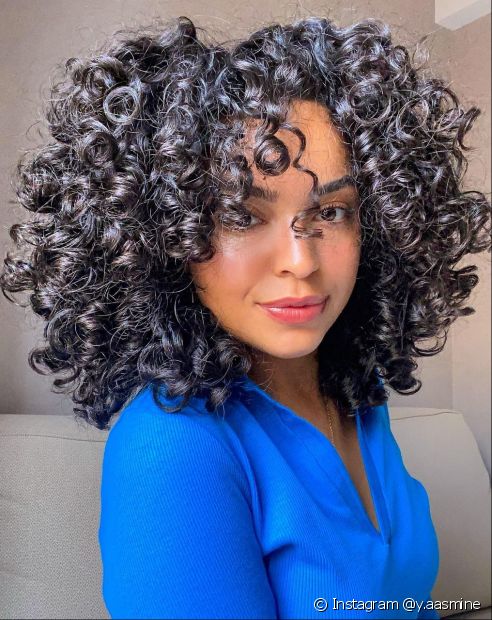
Are you going to fit long curly hair? Check out 6 tips to get the technique right! (Photo: Instagram @vic_toryy)
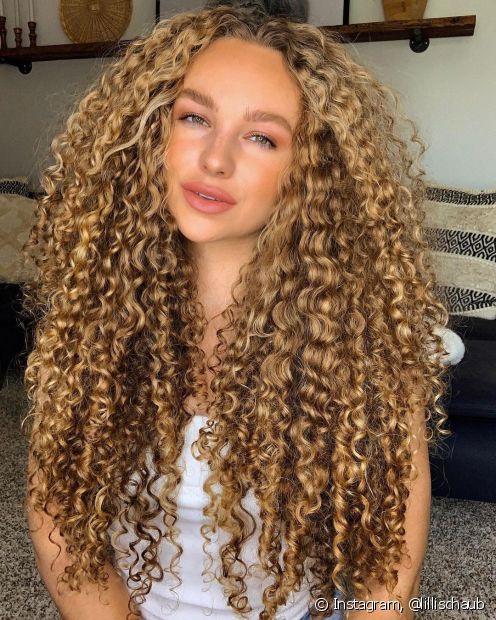
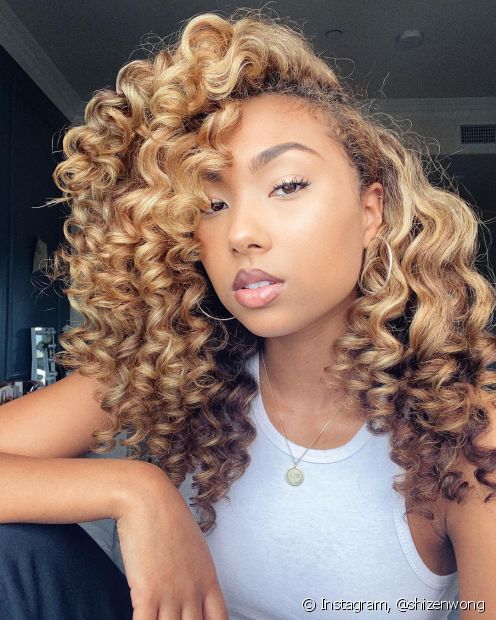
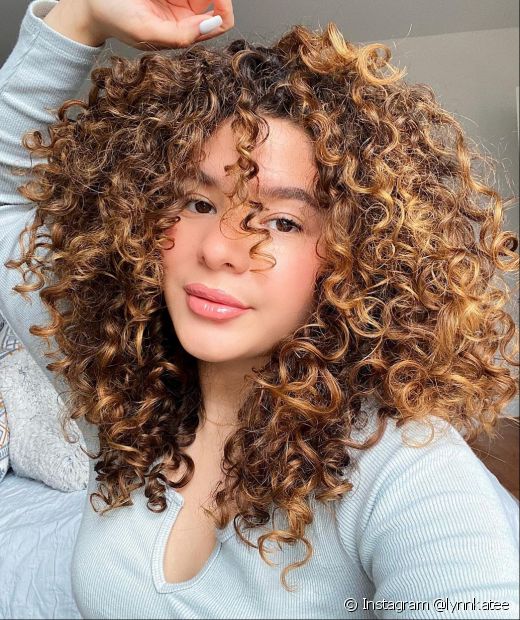
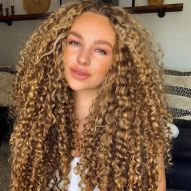
Fitting is a sure technique to define all types of curls (Photo: Instagram @lillischaub)
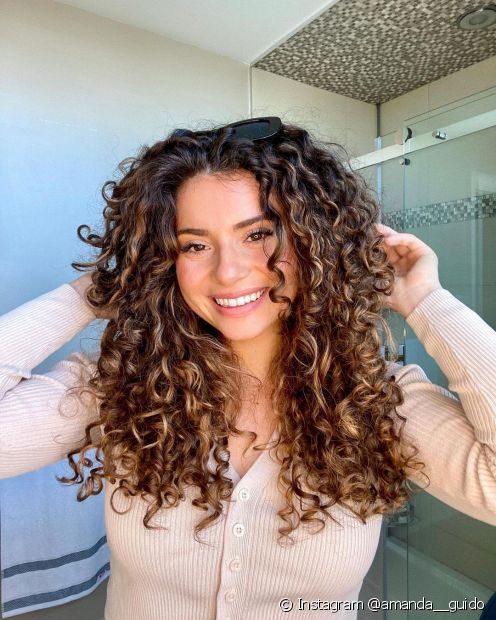
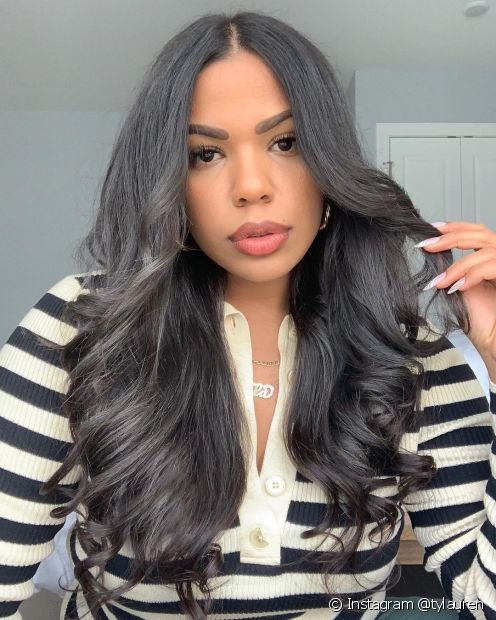
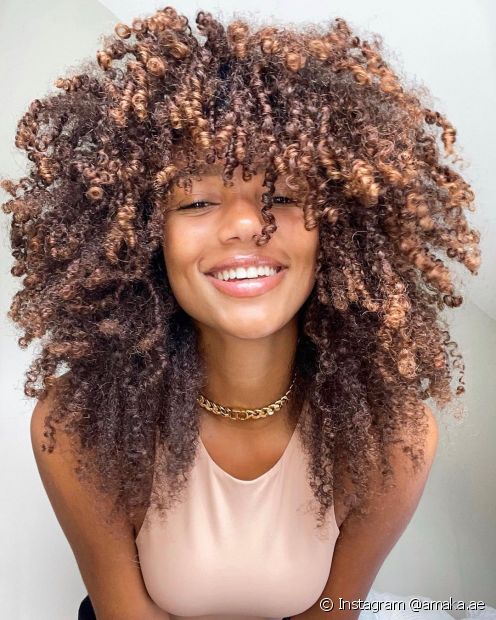
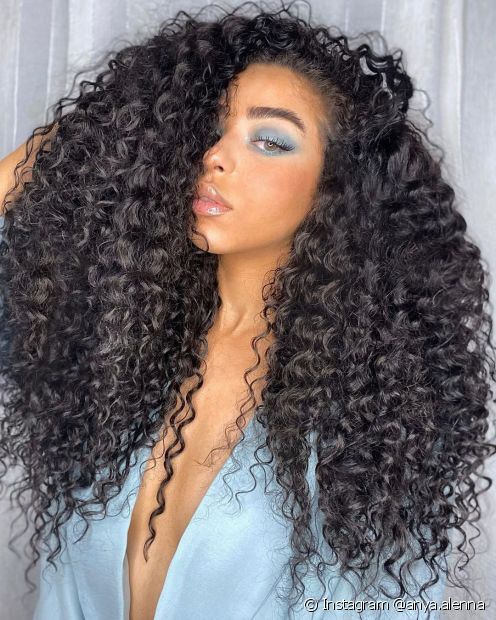
More definition and frizz control are some of the benefits of doing the fit on long curly hair (Photo: Instagram @amanda__guido)


diva tip
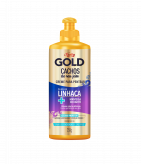
Cream for Combing Curls Your Way
ExploreFitting is the darling finishing technique for curly hair. Simple and easy to do, it is super efficient in the task of leaving the curls well defined and with controlled frizz. But making the tape in long curly hair can be a challenge for those who are not practiced with the technique, since long locks tend to be more voluminous and require a little extra work when finishing. With that in mind, we have listed 6 tricks to make it easier to fit long hair that work on all types of curls, from 2A to 4C. Come with us!
1. Detangle the hair well before starting the tape
Curly divas know: there is no finish that works on tangled curly hair. And for those with long hair, untangling the strands well before the fit is very important to master the technique. With the strands free of knots, it will be easier and faster to separate the strands, as the comb will slide through the strands freely. With the hair still wet, start detangling from the ends upwards to avoid breakage and proceed to tip number 2.
A post shared by Amanda Guido (@amanda__guido)
2. Dividing the hair into small sections makes styling easier.
Dividing long curly hair into several sections is another essential step in styling, as it reduces the volume of the strands and therefore facilitates the formation of curls. Instead of the traditional four wide sections, try making six smaller sections with the help of hair clips. This will also prevent the wires from tangling again during the process.
3. Use the combing cream in the right amount for each strand
Just as applying too little combing cream impairs the result of the finish, applying too much product can also ruin your fit. Those with long curly hair tend to think that their locks need a lot of product, but beware of excess, diva. The accumulation of cream leaves the hair heavy, without movement and without definition - which is exactly the opposite of what you are looking for with the fitage.
In addition, the product used also makes all the difference: creams that have some nourishing oil in the composition are perfect for those who want more defined curls, as these ingredients help control frizz. Our tip is the Cachos do Seu Jeito combing cream, by Niely Gold, which has linseed oil and shea butter, a super nutritious combination for all types of curls.
A post shared by Jade Kendle-Godbolt (@lipstickncurls)
4. The wide tooth comb is perfect for styling long curly hair.
True, taping can be done with your fingers. But for long-haired divas, the wide-toothed comb is a great ally. With this accessory, it is easier and faster to form the ribbons along the entire length of the locks. In addition to the wide-tooth comb, you can also use a paddle brush with firm teeth. Start at the nape sections, sliding the comb from the roots to the ends of each section. Repeat the process if necessary and proceed to the next locks until the tape has been applied to all the hair.
5. Have a water sprayer by your side to moisten the hair.
Until you finish the tape all over your hair, some strands may dry out during the process. As curly hair should not be combed dry, it is essential to moisten the strands if this happens. For this reason, have a spray bottle by your side: it will allow you to apply the water only in the necessary areas, preventing you from wetting the rest of the strands and losing all the work that has been done so far.
A post shared by American Salon (@american_salon)
6. The position of the diffuser during drying makes all the difference in the final result
Finally, the last step of the fitting: drying the hair with the diffuser. If you want definition and volume, a tip is to throw your hair forward and dry the locks from bottom to top. As curly hair is usually dry at the ends and this characteristic tends to be stronger in long hair, it is important not to leave the hot wind in this region for a long time, so as not to encourage dryness. If possible, set the dryer to medium temperature.
For divas who want more definition and less volume, the tip is to keep the diffuser in a vertical position and start drying from the roots to the tips, with the wind always from the outside to the inside. Knead the curls with your hands and arrange them however you like. Remembering that the diffuser is just a faster way to dry long curly hair and even get more definition in the process, but you can also let the highlights dry naturally, ok, diva?