10/ Fiberglass nail: find out how to put them on step by step
The fiberglass step by step must be done by professionals to avoid mistakes and problems that influence the health of the nail
Nail stretching techniques are increasingly technological and with a finish very close to natural. This is the case of fiberglass, a material that is molded with the help of a gel into the desired shape. As the application and maintenance of this type of method usually have a slightly higher value, it is extremely important to research well before making the final decision and understand each step. To help you with this mission, Fica Diva separated a step-by-step that will answer some common questions about how each phase works. Check out!
The first step to receiving fiberglass is sanding.
So that the adhesion to the material is perfect, it is necessary to prepare the nails with some processes. Your manicurist will start by sanding the entire contact surface to get rid of shine and oiliness. It is essential that this step be done very carefully so as not to damage the nail or make it too thin.
Then the first product, known as acid primer, will be applied. This cosmetic is antifungal, antibacterial, has the function of eliminating the remaining oil and protecting the area that will receive the stretching. The final prep part is the gel primer which takes about two minutes to dry in the UV booth and 60 seconds in the LED/UV booth.
A post shared by Nails (@s_topnails) on Apr 26, 2017 at 5:21 am PDT
With the nails ready, it's time for fiber!
After all the preparation, which is essential for the durability of the stretch, it's time to apply the fiber. The threads that give shape to the nail are molded with the help of a gel. He will be responsible for firming the material and leaving the stretch transparent, or with the milky color characteristic of natural nails. To finalize the fixation, the gel must dry in the UV cabin for about one minute or 30 seconds in the LED/UV model.
A post shared by (@annet_leto) on Apr 13, 2018 at 6:40 am PDT
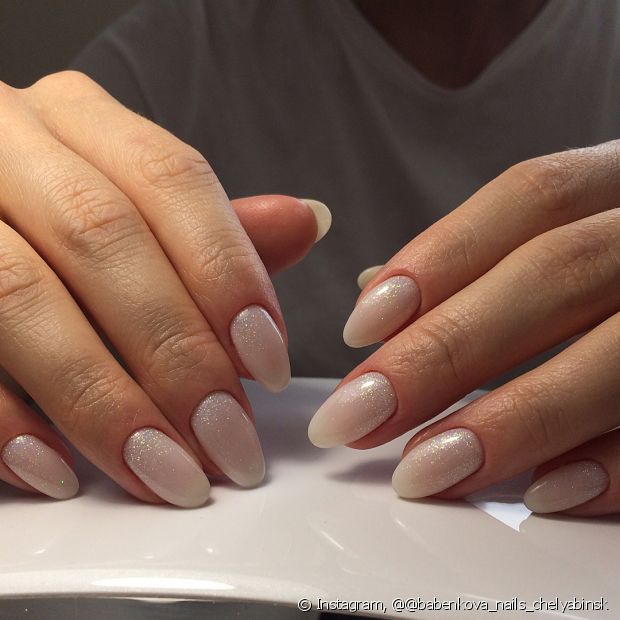
For the finish, the professional will fill the mold with the gel
Finishing your fiberglass nails starts with gel filling. After waiting for this step to dry in the cabin, the professional will work on a curl that is as close to natural as possible while the stretch is still hot.
After that, all that remains is to make the second layer of gel and the tension point, which holds the stretch and prevents breakage. If necessary, your manicurist will make a final curve with the help of tweezers. Now all that's left is sanding and polishing to finish off the shape of the elongation. The application process takes about three hours in total and guarantees perfect nails.