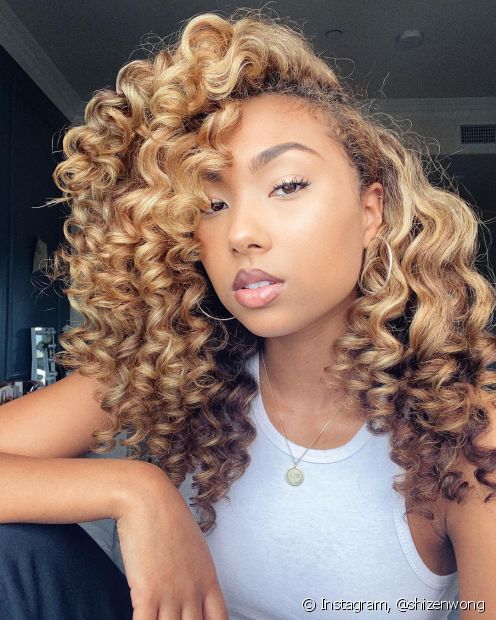
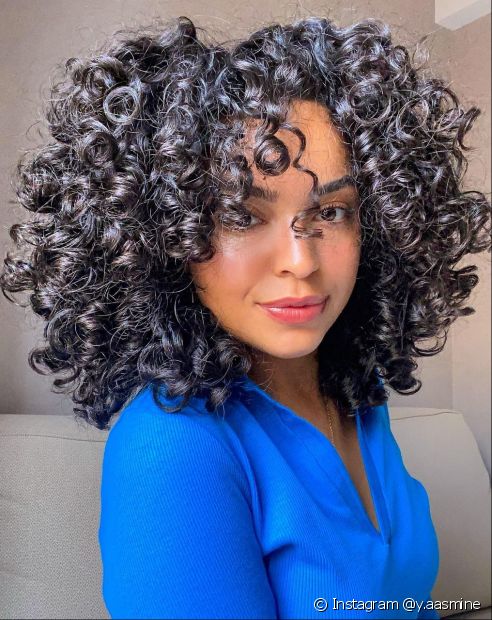
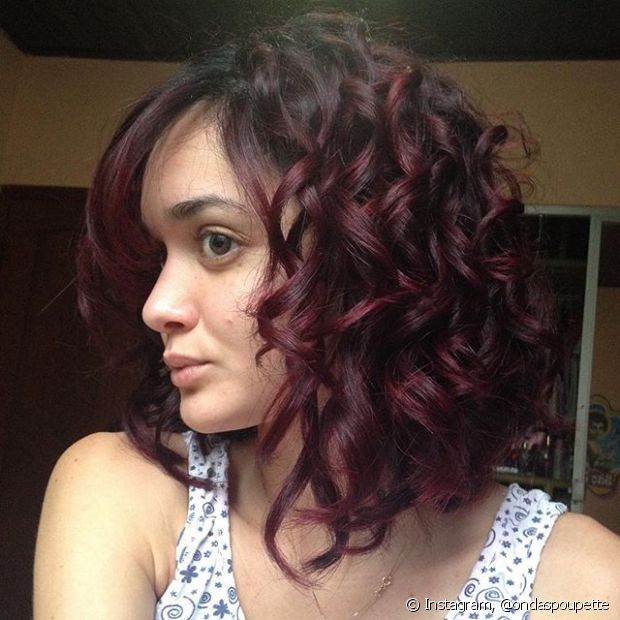
Dedoliss technique: learn the perfect step-by-step to texturize curly hair with your fingers
For those who still don't know the dedoliss technique, it's basically separating the hair into small strands and curling them around the finger as if it were really a curling iron
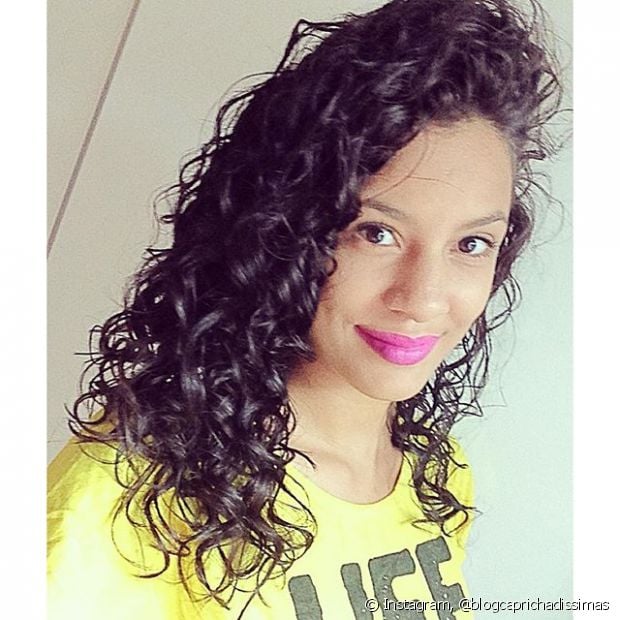
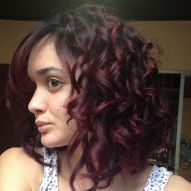
Dedoliss is the perfect technique for those who have parts that don't define like the rest of the hair and need a little extra help.
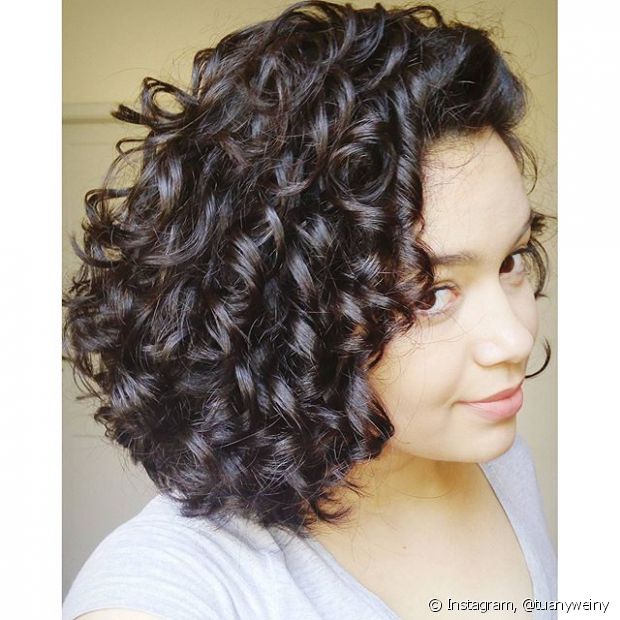
The biggest advantages of this technique are that it really reduces the appearance of frizzy strands, increases the day after days - since it lasts longer than the fit - and, without a doubt, guarantees more definition for the curls
Dedoliss is not a good option for those who like a quick finish, as the procedure can take almost an hour or more
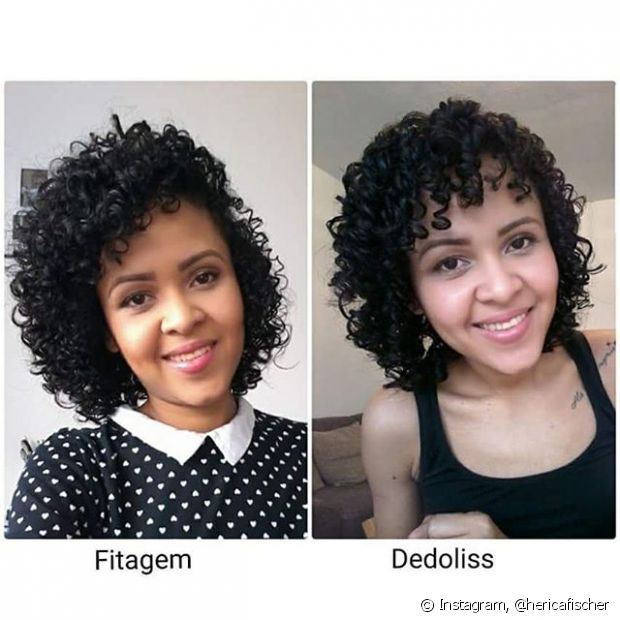
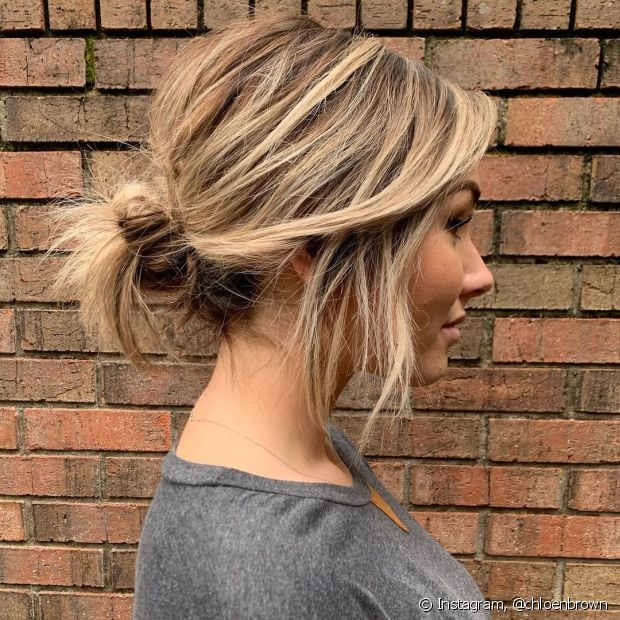
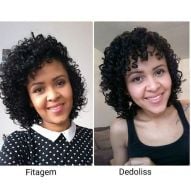
In addition, dedoliss also reduces hair volume, so if you like the voluminous look, give preference to the fitage, which leaves the strands looser and with more balance.
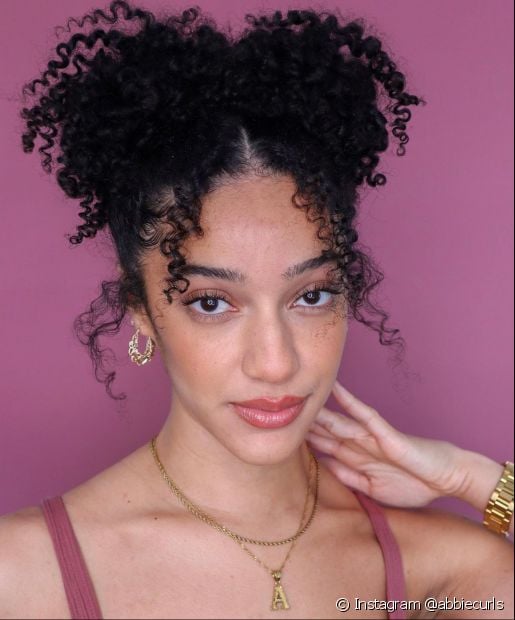
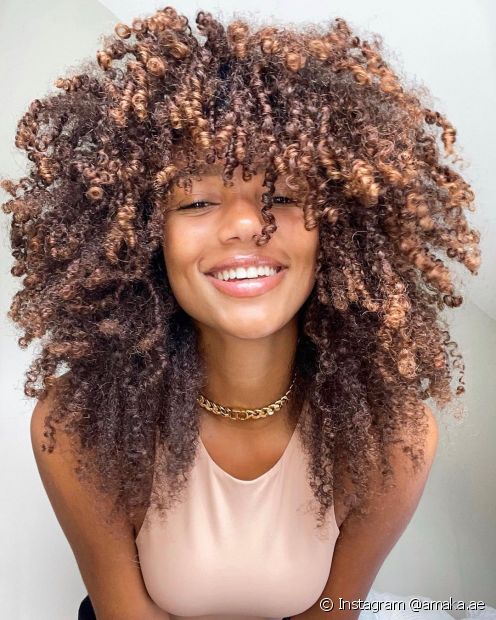
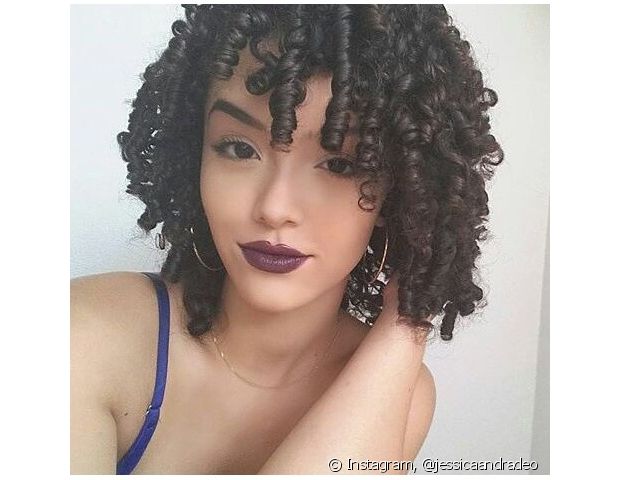
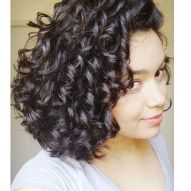
After you do the dedoliss, the curls can look like doll hair, depending on the size of the strand you curled. Then, after drying you can separate these locks, creating several smaller curls.


diva tip
Niely Gold Absolute Shine Combing Cream
ExploreOne of the simplest ways to texturize curly hair is with the dedoliss technique. For those who don't know, the procedure is basically to separate the strands into small strands and roll them around the finger as if it were really a curling iron. This tactic is perfect for those who have parts that don't define like the rest of the locks and need a little extra help. Want to learn how to do it? Check out our step by step and try to do it at home!
Advantages and disadvantages to evaluate over dedoliss
The biggest advantages of this technique are that it actually reduces the appearance of frizzy strands, increases the day after days - since it lasts longer than the fit - and, without a doubt, guarantees more definition to the curls. However, it is not a good option for those who like a quick finish, as the procedure can take almost an hour or more. In addition, dedoliss also reduces hair volume, so if you like the voluminous look, give preference to the fitage, which leaves the strands looser and with more balance.
See how easy it is to curl your hair with the dedoliss technique
1st step: to start, you can divide the locks into locks with clips to make it easier or take the first one from the beginning of the hair.
2st step: choose the first strand and apply a little cream to comb, in the amount you deem necessary.
3st step: twist the lock from root to tip and then wrap it around your finger. Hold for a few seconds at the top of the head.
4st step: try to remove the curl from your finger without unraveling it.
5st step: repeat the procedure on all hair and let it dry naturally.
Observation: the curls can look like doll hair, depending on the size of the strand you curl. Then, after drying you can separate these strands, creating several smaller curls.
Fitting: another alternative to texturing curls with your fingers
The duration of the tape effect will depend on some habits: avoid touching the locks too many times throughout the day, because the less you run your hands through your hair when it is dry, the longer the definition will remain. Here's how to do the procedure at home:
1st step: after the shower and with the strands still damp, divide your hair into about five parts.
2st step: with the combing cream, apply a little of the product to one of the locks (always start at the bottom of the hair) and comb the hair with your fingers, separating it as if it were ribbons.
3st step: distribute the styling cream over the entire length of the lock using your fingers as a comb. Make firm movements, as if you were straightening your hair. When you're done, you'll see that the strand has split into three strands.
4st step: knead the ribbons with your hands towards the root. At that moment you will already be able to see that your curls are much more modeled, because each strand will give rise to a little curl.
5st step: repeat the procedure on all hair and then let it dry naturally.